In this post we will see how to install and configure Windows Deployment Services. Windows Deployment Services is a technology from Microsoft for network-based installation of Windows operating systems. In windows server 2003 it was called as Remote Installation Services (RIS). The purpose of WDS is to remotely deploy the windows operating systems, Windows Deployment Services role in server 2008 R2 enables you to efficiently deploy Windows operating systems, particularly Windows 7, Windows Vista and Windows Server 2008 R2. Windows Deployment Services role can be used to set up new computers through a network-based installation without the IT Professional having to be physically present at each computer and without having to install directly from CD or DVD media.


Lab Setup – I have setup 2 virtual machines, the first virtual machine is installed with Windows Server 2008 R2 Enterprise SP1 OS and its our domain controller. The second virtual machine is installed with Windows Server 2008 R2 Enterprise SP1 OS and its our WDS server. The DHCP server role has been installed on the domain controller, this DHCP service will provide IP addresses to the other machines.
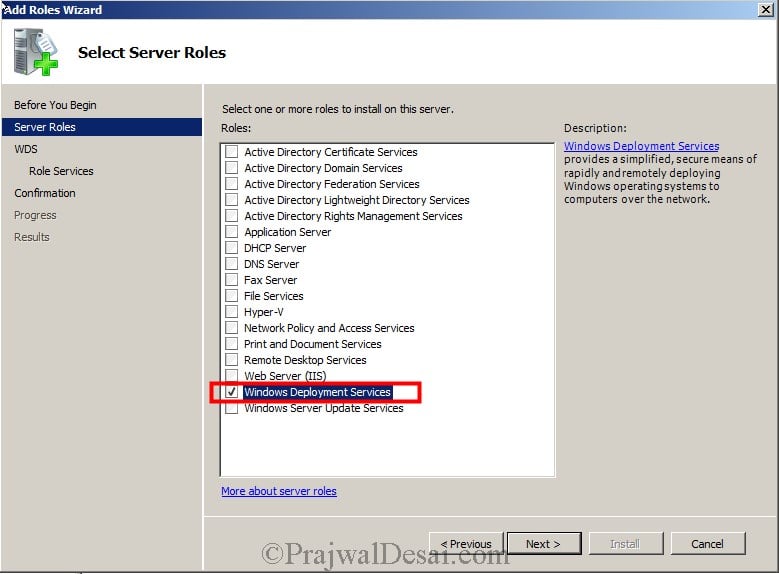
On the server where you are installing Windows Deployment Services role, launch the Server Manager, right click on Roles, click on Add Roles. On the Server Roles page, select Windows Deployment Services. Click on Next.

On the Role Services page, the Deployment Server and Transport Server roles are checked by default. Click on Next.

Once the installation is complete click on close.

If you are looking for command line installation of WDS server, then use the below command.
Open the powershell and run the command ServerManagerCmd -install WDS.

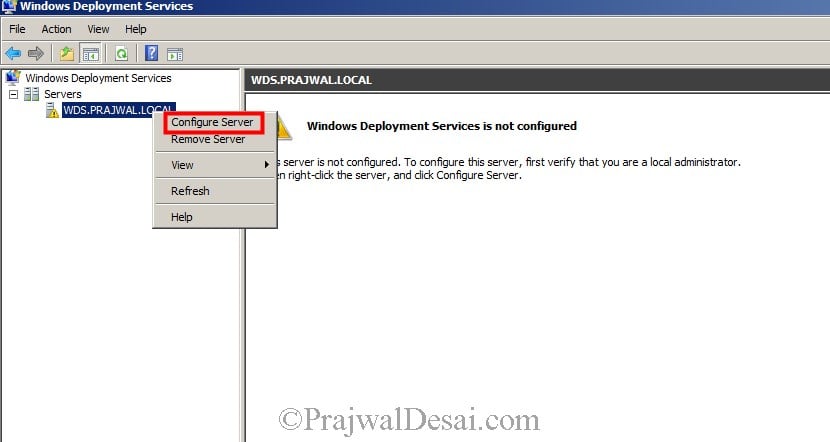
Click on Start, click on Administrative Tools, click on Windows Deployment Services. On the WDS console, expand Servers, right click on the WDS server and click on Configure Server.

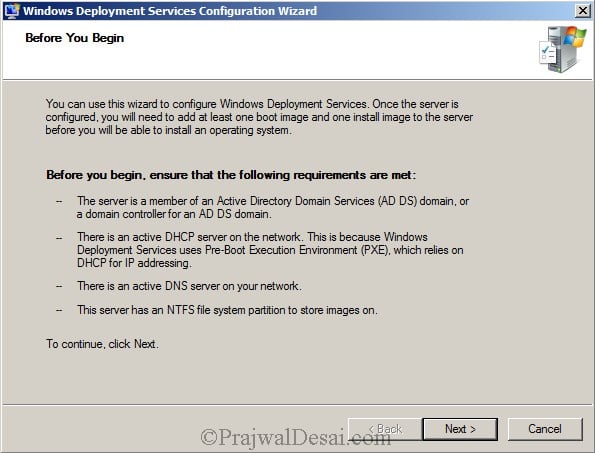
Read the requirements once before you click next.

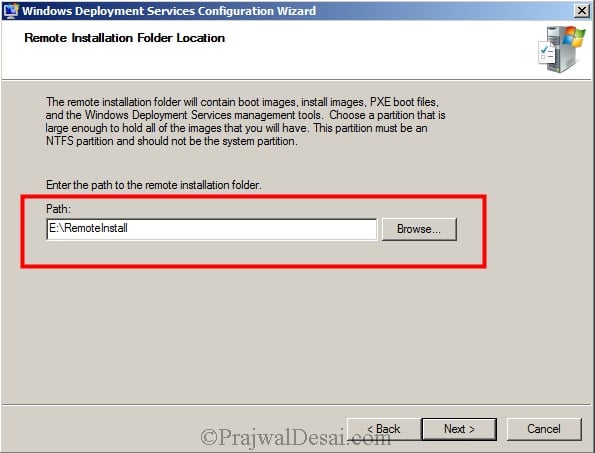
Choose the Remote Installation Folder location on other drive. The folder contains the boot images, install images, so make sure this drive has enough space to hold the data. Click on Next.

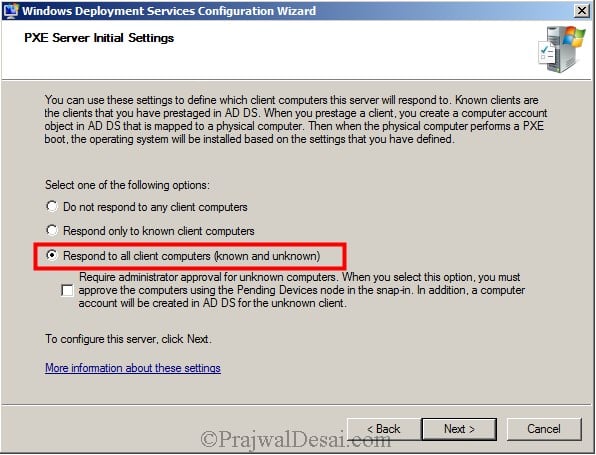
Select Respond to all client computers (known and unknown). Click on Next.

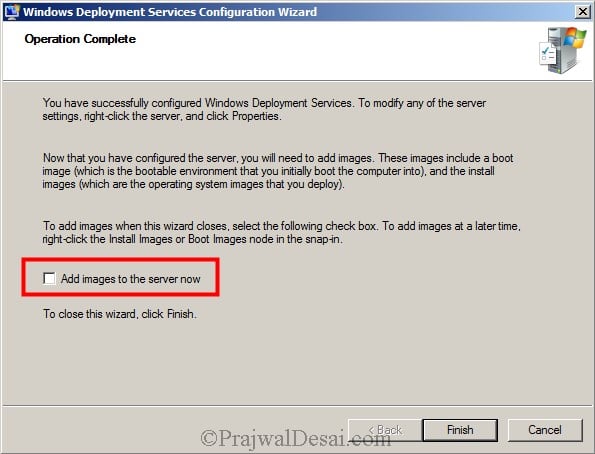
Uncheck the checkbox for Add images to the server now. We will add the images in the next step. Click Finish.

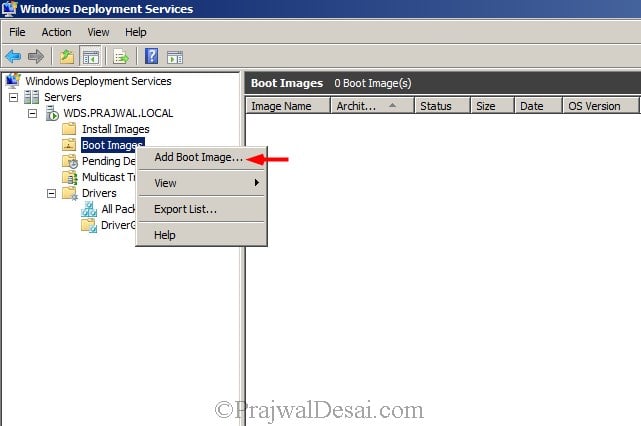
In this step we will add Boot Image and Install Image. Boot images are images that you boot a client computer into to perform an operating system installation. To add the boot image, right click Boot Images and click on Add Boot Image.

Browse to the location where the operating system installation files are stored. In this example we will importing boot.wim from windows 7 professional SP1 64 bit DVD as boot image. The boot.wim file can be found under folder named Sources. Select boot.wim and click on Open.

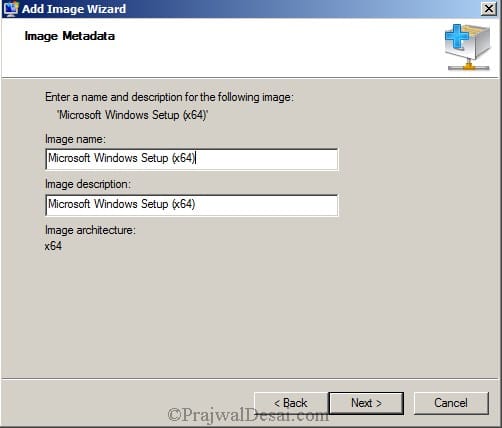
Enter the name for the boot image. Click on Next.

We have imported or added a boot image to our WDS server. Click on Finish.

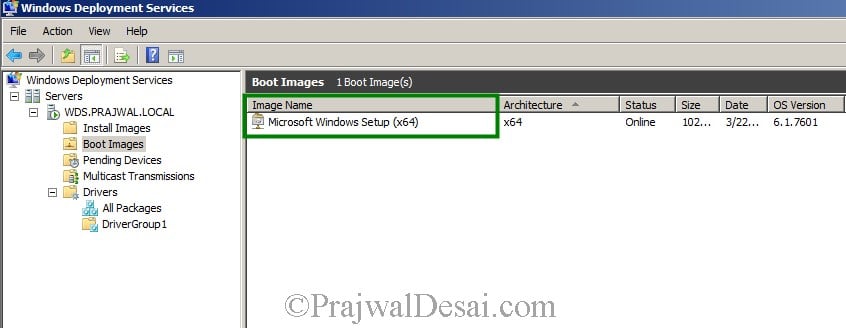
The boot image can be seen under Boot Images folder.

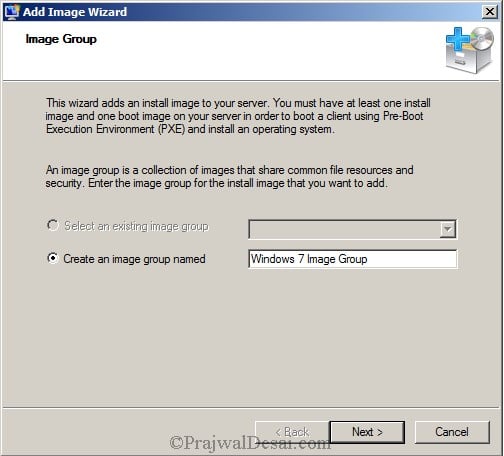
To add the Install image, right click Install Image, click on Add Install Image, provide a name and create a new Image Group. Click on Next.

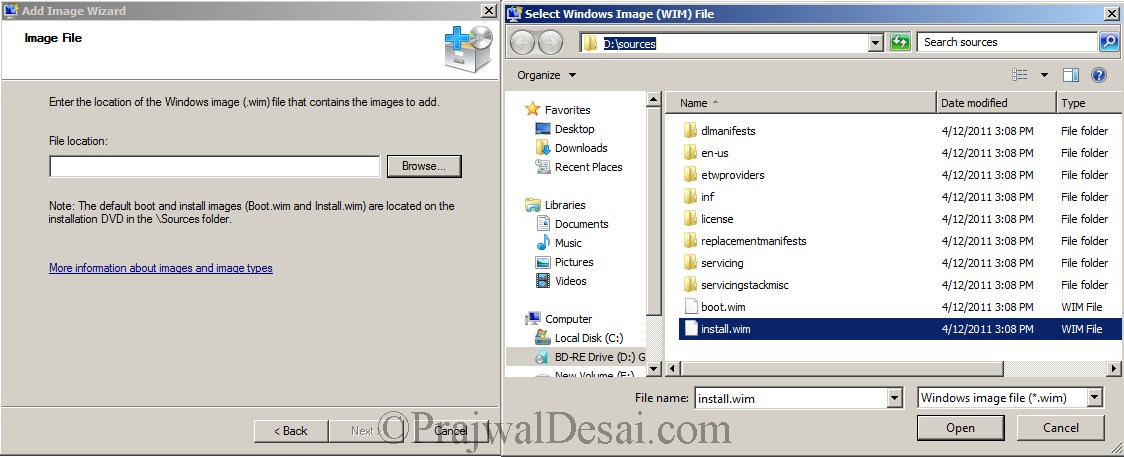
Now we have to select and add the Install image. Install images are the operating system images that you deploy to the client computer. Click on Browse and the select Install.wim. Click on Open.

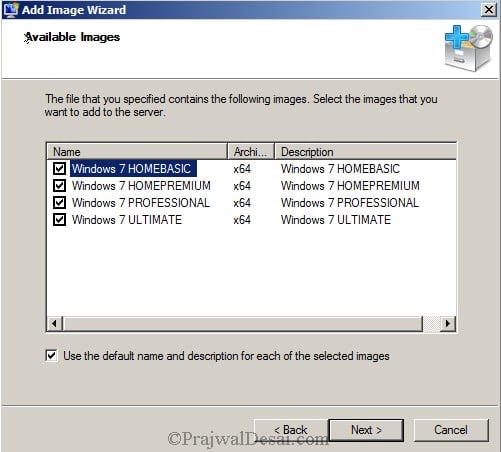
In the below screenshot we will select all the editions of windows 7 that are listed. click on Next.

Click on Finish to close the Add Image Wizard.

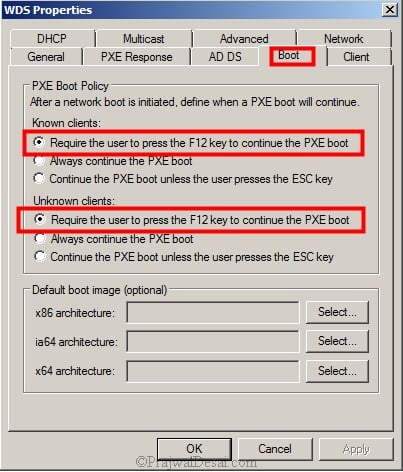
Lets configure the WDS server properties now. Launch the Windows Deployment Services Console, right click the WDS server and click on Properties. Click on Boot and make sure Require the user to press the F12 key to continue the PXE boot is selected for known and unknown clients.

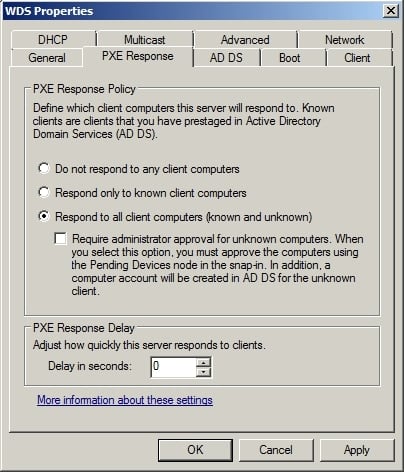
Click on PXE Response and make sure that Respond to all client computers (known and unknown) is selected. Click on Apply and Okay.

In the next post we will look at steps to deploy an image using WDS and also to capture it.


No comments:
Write comments